

Hi there, I’m Eric, the founder and owner of The Kilted Leatherworker LLC. If you’re reading this, chances are you own a piece of leather gear that means something to you. Maybe it’s a notebook cover that has traveled across the country in your backpack, or a journal that holds your most private thoughts and big business ideas.
I’ve always felt that a good leather notebook cover is like a trusted companion. It’s there for the late-night sketches and the early-morning coffee shop sessions. But, like any good companion, it needs a little love and attention every now and then to keep it in tip-top shape.
I get asked all the time: "Eric, how do I make sure this lasts forever?" The truth is, high-quality leather is incredibly resilient, but it isn’t invincible. Over time, the natural oils in the hide can dry out, or dirt from your daily adventures can settle into the grain. If you’ve been wondering whether a journal cover or a notebook cover actually protects your pages better, you already know that the exterior takes the brunt of the wear and tear.
Today, I want to walk you through my personal process for cleaning and conditioning. It’s a simple, five-step routine that I use in my own shop. You don't need to be an expert leatherworker to do this, you just need a little patience and a few basic supplies.
Why Maintenance Matters (And Why Less is More)
Before we dive into the steps, I want to share a little secret I’ve learned over the years: the biggest mistake people make with leather care is doing too much.
I love the way leather ages. That "patina" everyone talks about, the darkening and softening that happens over time, is the leather’s way of telling its own story. If you clean it every single week, you’re actually stripping away those natural oils and preventing that beautiful aging process.
Usually, I recommend a deep clean and condition only about 1-2 times a year. Of course, if you’ve taken your mini padfolio on a particularly muddy hike or spilled your latte on it, you might need to act sooner. But generally, a little goes a long way.
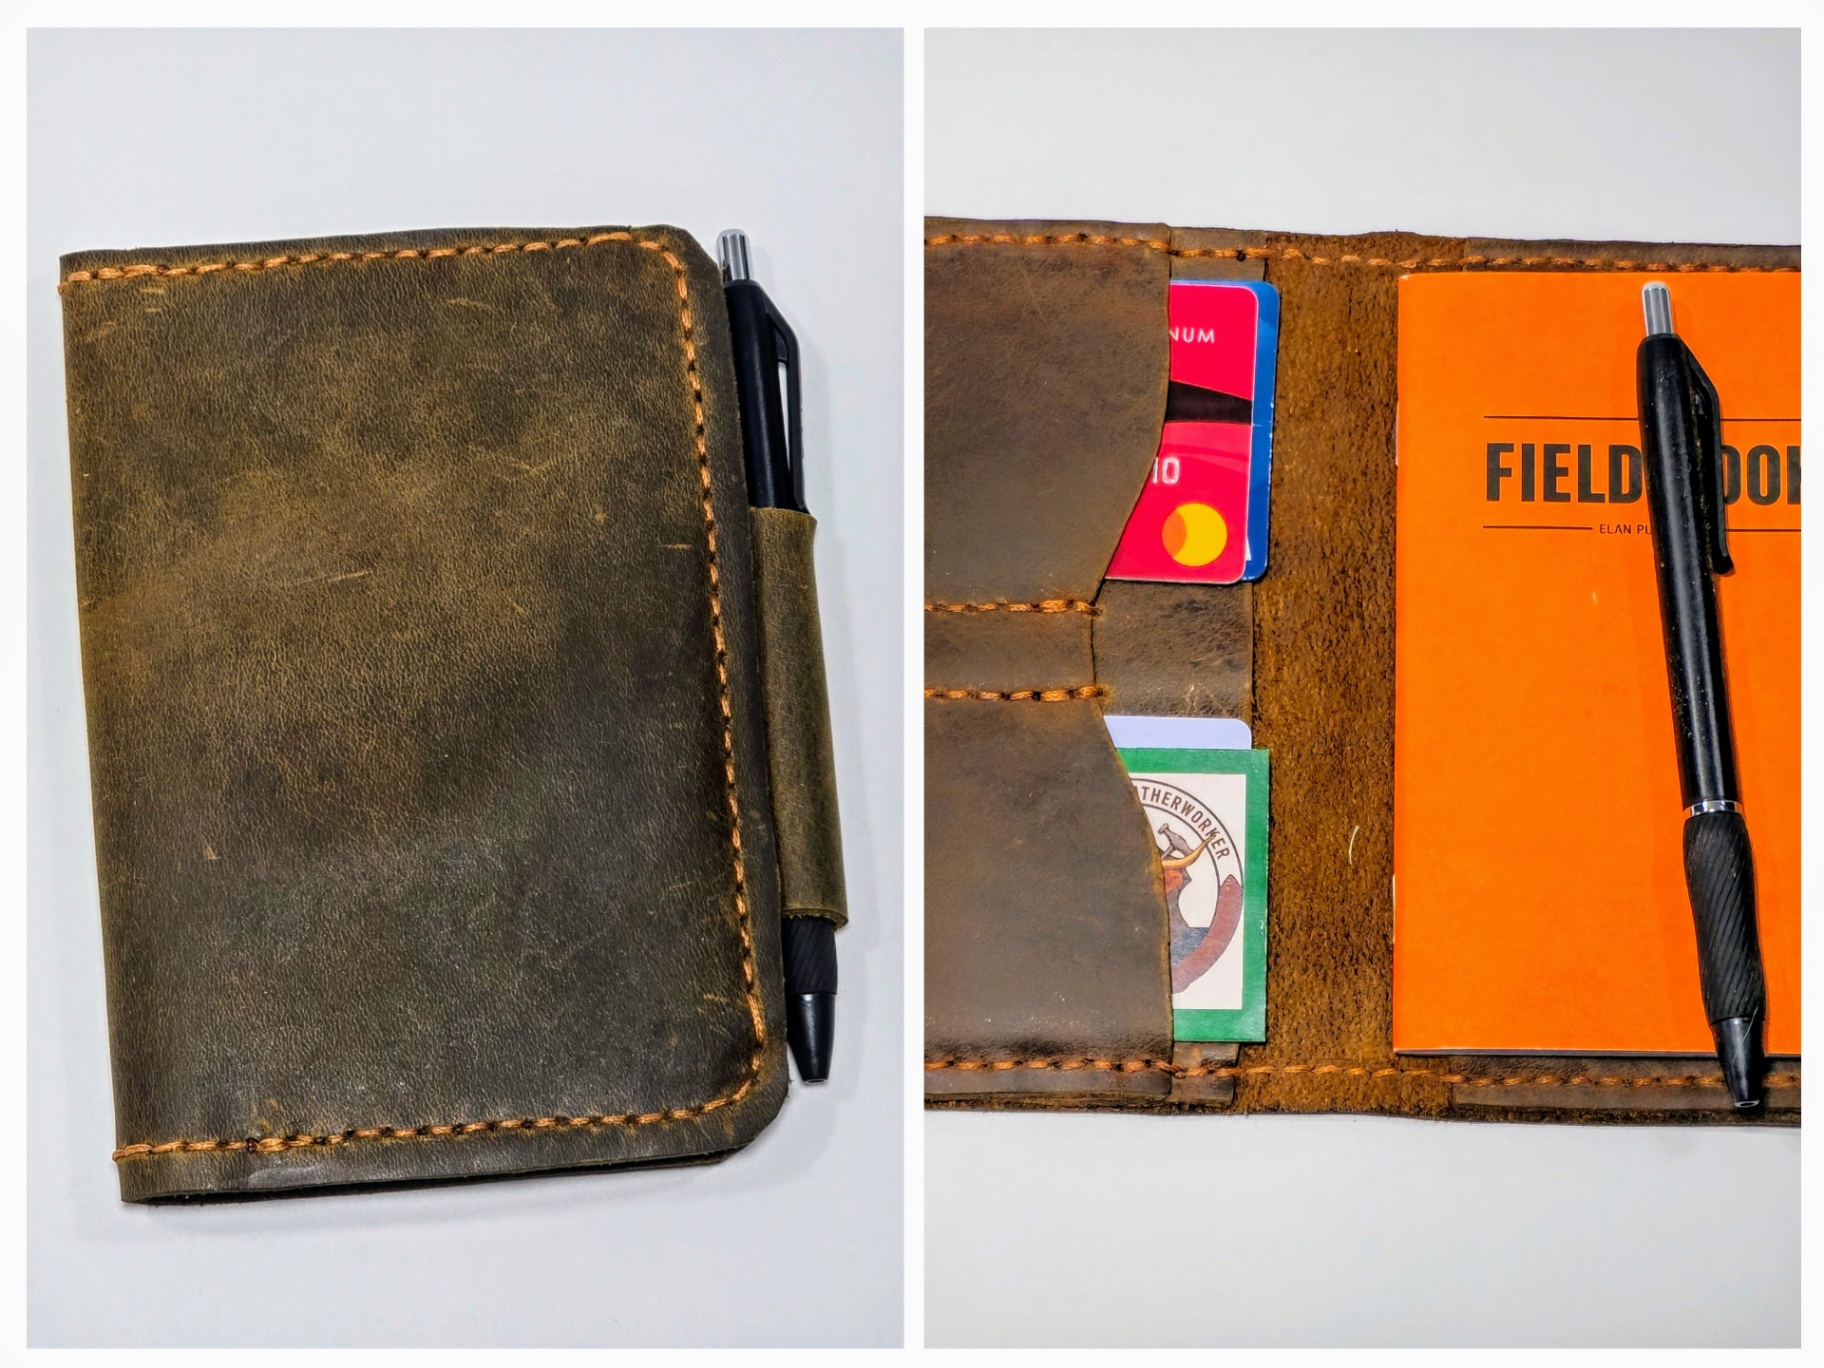
Step 1: Assess if Your Cover Truly Needs Cleaning
The first thing I do when I pick up a piece, whether it's one of my own or a customer's, is give it a good look-over. I’m looking for a few specific things. Is the leather feeling a bit stiff or brittle? Does it look "thirsty" (a bit dull or light in color compared to when it was new)?
Sometimes, you might see a cloudy, white, waxy substance on the surface. Don’t panic! That’s often just "spew" or "bloom," which is just natural waxes or oils rising to the surface because of temperature changes. You don't necessarily need a deep clean for that; usually, a quick buff with a soft cloth will take care of it.
If the leather feels "tacky" or sticky, that’s actually a sign of over-conditioning. If that’s the case, stop right there! You definitely don’t want to add more product to it. But if it feels dry or has visible dirt, it’s time to move to step two.
Step 2: Remove Surface Dirt and Deep Clean
Now we get into the "one step at a time" part of the process. I always start by removing surface dust. I like to use a stiff bristle brush (a horsehair brush is perfect) to gently flick away any loose dirt. If you don't have a brush, a clean, soft cotton cloth, like an old t-shirt, works wonders too.
For the actual cleaning, I prefer to keep it simple. If the dirt is light, I might just use a tiny bit of water on a cloth or even an alcohol-free baby wipe.
If your cover is really grimy, you can use a dedicated leather soap (often called Saddle Soap). Here is how I do it:
- Dampen a cloth or sponge (not soaking wet, just damp).
- Rub a small amount of soap into a light lather.
- Apply it to the leather in gentle, circular motions.
- Wipe off any excess lather with a clean, dry cloth immediately.
I always tell people to be careful around the stitching. When I’m ensuring that every stitch is perfect in my workshop, I’m using durable thread, but you still don't want to soak the seams with too much moisture or soap if you can help it.

Step 3: The Hardest Part, Waiting for it to Dry
This is where most people get impatient. As you might have guessed, you can’t apply conditioner to damp leather. If the fibers are full of water, there’s no room for the oils in the conditioner to soak in.
I usually leave my covers to dry overnight. You want to keep them in a cool, dry place away from direct sunlight or heaters. Never, ever use a hair dryer on high heat to speed this up, it can cause the leather to crack or warp. Just let nature do its thing.
While you're waiting, it's a great time to browse our full collection for your next piece of gear, or maybe read up on why I love making these items so much.
Step 4: Apply Conditioner (The "Zen" Step)
Once your cover is bone-dry, it’s time for the magic. Conditioning is what keeps the leather supple and prevents it from cracking. It also brings back that rich, deep color we all love.
I take a small amount of leather conditioner, about the size of a pea, and put it on a clean cloth or a sponge. A little really does go a long way. I start in one corner and work in small, circular motions.
There is something truly relaxing about this part of the job. Seeing the leather "drink up" the conditioner and watching the grain come back to life is one of my favorite parts of working with hide. If the leather is particularly dry, it might soak the product up instantly. In that case, you can add a little more, but always work slowly.
Eric’s Pro Tip: I like to warm the leather slightly with my hands just by rubbing it before I apply the conditioner. The warmth helps the pores of the leather open up, allowing the balm to penetrate deeper into the fibers.

Step 5: Buff and Final Polish
After you’ve covered the whole piece, let it sit for about 15 to 20 minutes. This gives the conditioner time to settle in. Some products might suggest leaving it overnight, so always check the label on whatever brand you’re using.
Finally, take a clean, dry cloth or a soft brush and buff the entire cover. This removes any excess product that didn't soak in and gives the leather a beautiful, healthy luster. You aren't looking for a high-gloss "plastic" shine; you’re looking for a warm, natural glow that shows off the quality of the material.
If you’re caring for something larger, like our vintage style book tote, the process is exactly the same, it just takes a bit more elbow grease!

A Note on Different Leathers
Every piece of leather is unique. Some are more porous than others. That’s why I always recommend testing your cleaner or conditioner on a small, hidden area first, like the inside of a pocket or the back of a flap. This ensures the product won't darken the leather more than you’d like.
If you’re working with something unique like our hair-on-hide products, you’ll need a different approach entirely (usually just a light brushing), but for standard smooth leathers, this 5-step method is your golden rule.
Enjoying the Journey
I started The Kilted Leatherworker LLC because I wanted to create things that last, items that become a part of your daily life and only get better with age. Whether it’s a belt pouch for your next adventure or a simple notebook cover, taking ten minutes twice a year to care for it ensures it will be with you for decades.
I truly enjoy the process of creating these goods, and I hope you find a similar joy in maintaining them. There’s a certain peace that comes with taking care of the things that take care of us.
If you ever have questions about a specific product you’ve bought from me, or if you’re unsure about a certain type of leather cleaner, please don’t hesitate to reach out. You can find me over on the Contact Page: I’m always happy to talk shop with a fellow leather enthusiast.
Thank you so much for taking the time to read this and for supporting a small business. It means the world to me that my work finds a home in your pockets and bags.
Stay adventurous,
Eric
Founder, The Kilted Leatherworker LLC