

Hi, I’m Eric. If you’re anything like me, your notebook is more than just a stack of paper. It’s where your ideas live, where your sketches for the next big project begin, and where you document your adventures. When I started The Kilted Leatherworker LLC, I did so because I wanted to create gear that could keep up with that kind of life: gear that feels "adventure-ready."
A leather notebook cover is one of those essential pieces of kit. It’s supposed to protect your thoughts and look better the more you use it. But over the years, I’ve seen a lot of folks making the same few mistakes that end up ruining their covers or, worse, their notebooks.
Today, I want to share some of the most common pitfalls I’ve encountered and show you how to fix them so your leather cover can truly last a lifetime.
1. Buying "Hot Dog Leather"
This is probably the biggest mistake I see. You find a "genuine leather" cover online for a price that seems too good to be true, and a few months later, it’s peeling and cracking.
In the industry, we sometimes call this "hot dog leather." Just like a hot dog is made of all the leftover bits of meat swept off the floor, some "leather" products are actually just ground-up leather scraps glued together and topped with a plastic coating.
When I’m at my workbench, I only use honest materials: genuine hide and calf skin. These materials have a grain and a soul. They breathe. If you want a cover that survives a trip through the woods or years of being tossed in a bag, you need to look for full-grain or top-grain leather. Avoid anything that feels like plastic or has a perfectly uniform, fake-looking texture.
2. Ignoring the Edges (Burnishing)
Have you ever looked at the edges of a leather cover and noticed they look raw, fuzzy, or fibrous? Those are unburnished edges, and they are a magnet for trouble.
Unfinished leather edges are incredibly vulnerable. They soak up water like a sponge, which can lead to mold, rot, and the leather separating (delaminating). When I finish a piece, I spend a lot of time burnishing those edges. It’s a process of using friction and heat to seal the fibers shut.
If your current cover has raw edges, you can actually fix this at home! A little bit of water or beeswax and a smooth wooden tool (or even a piece of heavy denim) can be used to rub those edges until they become shiny and smooth. A sealed edge is a protected edge.
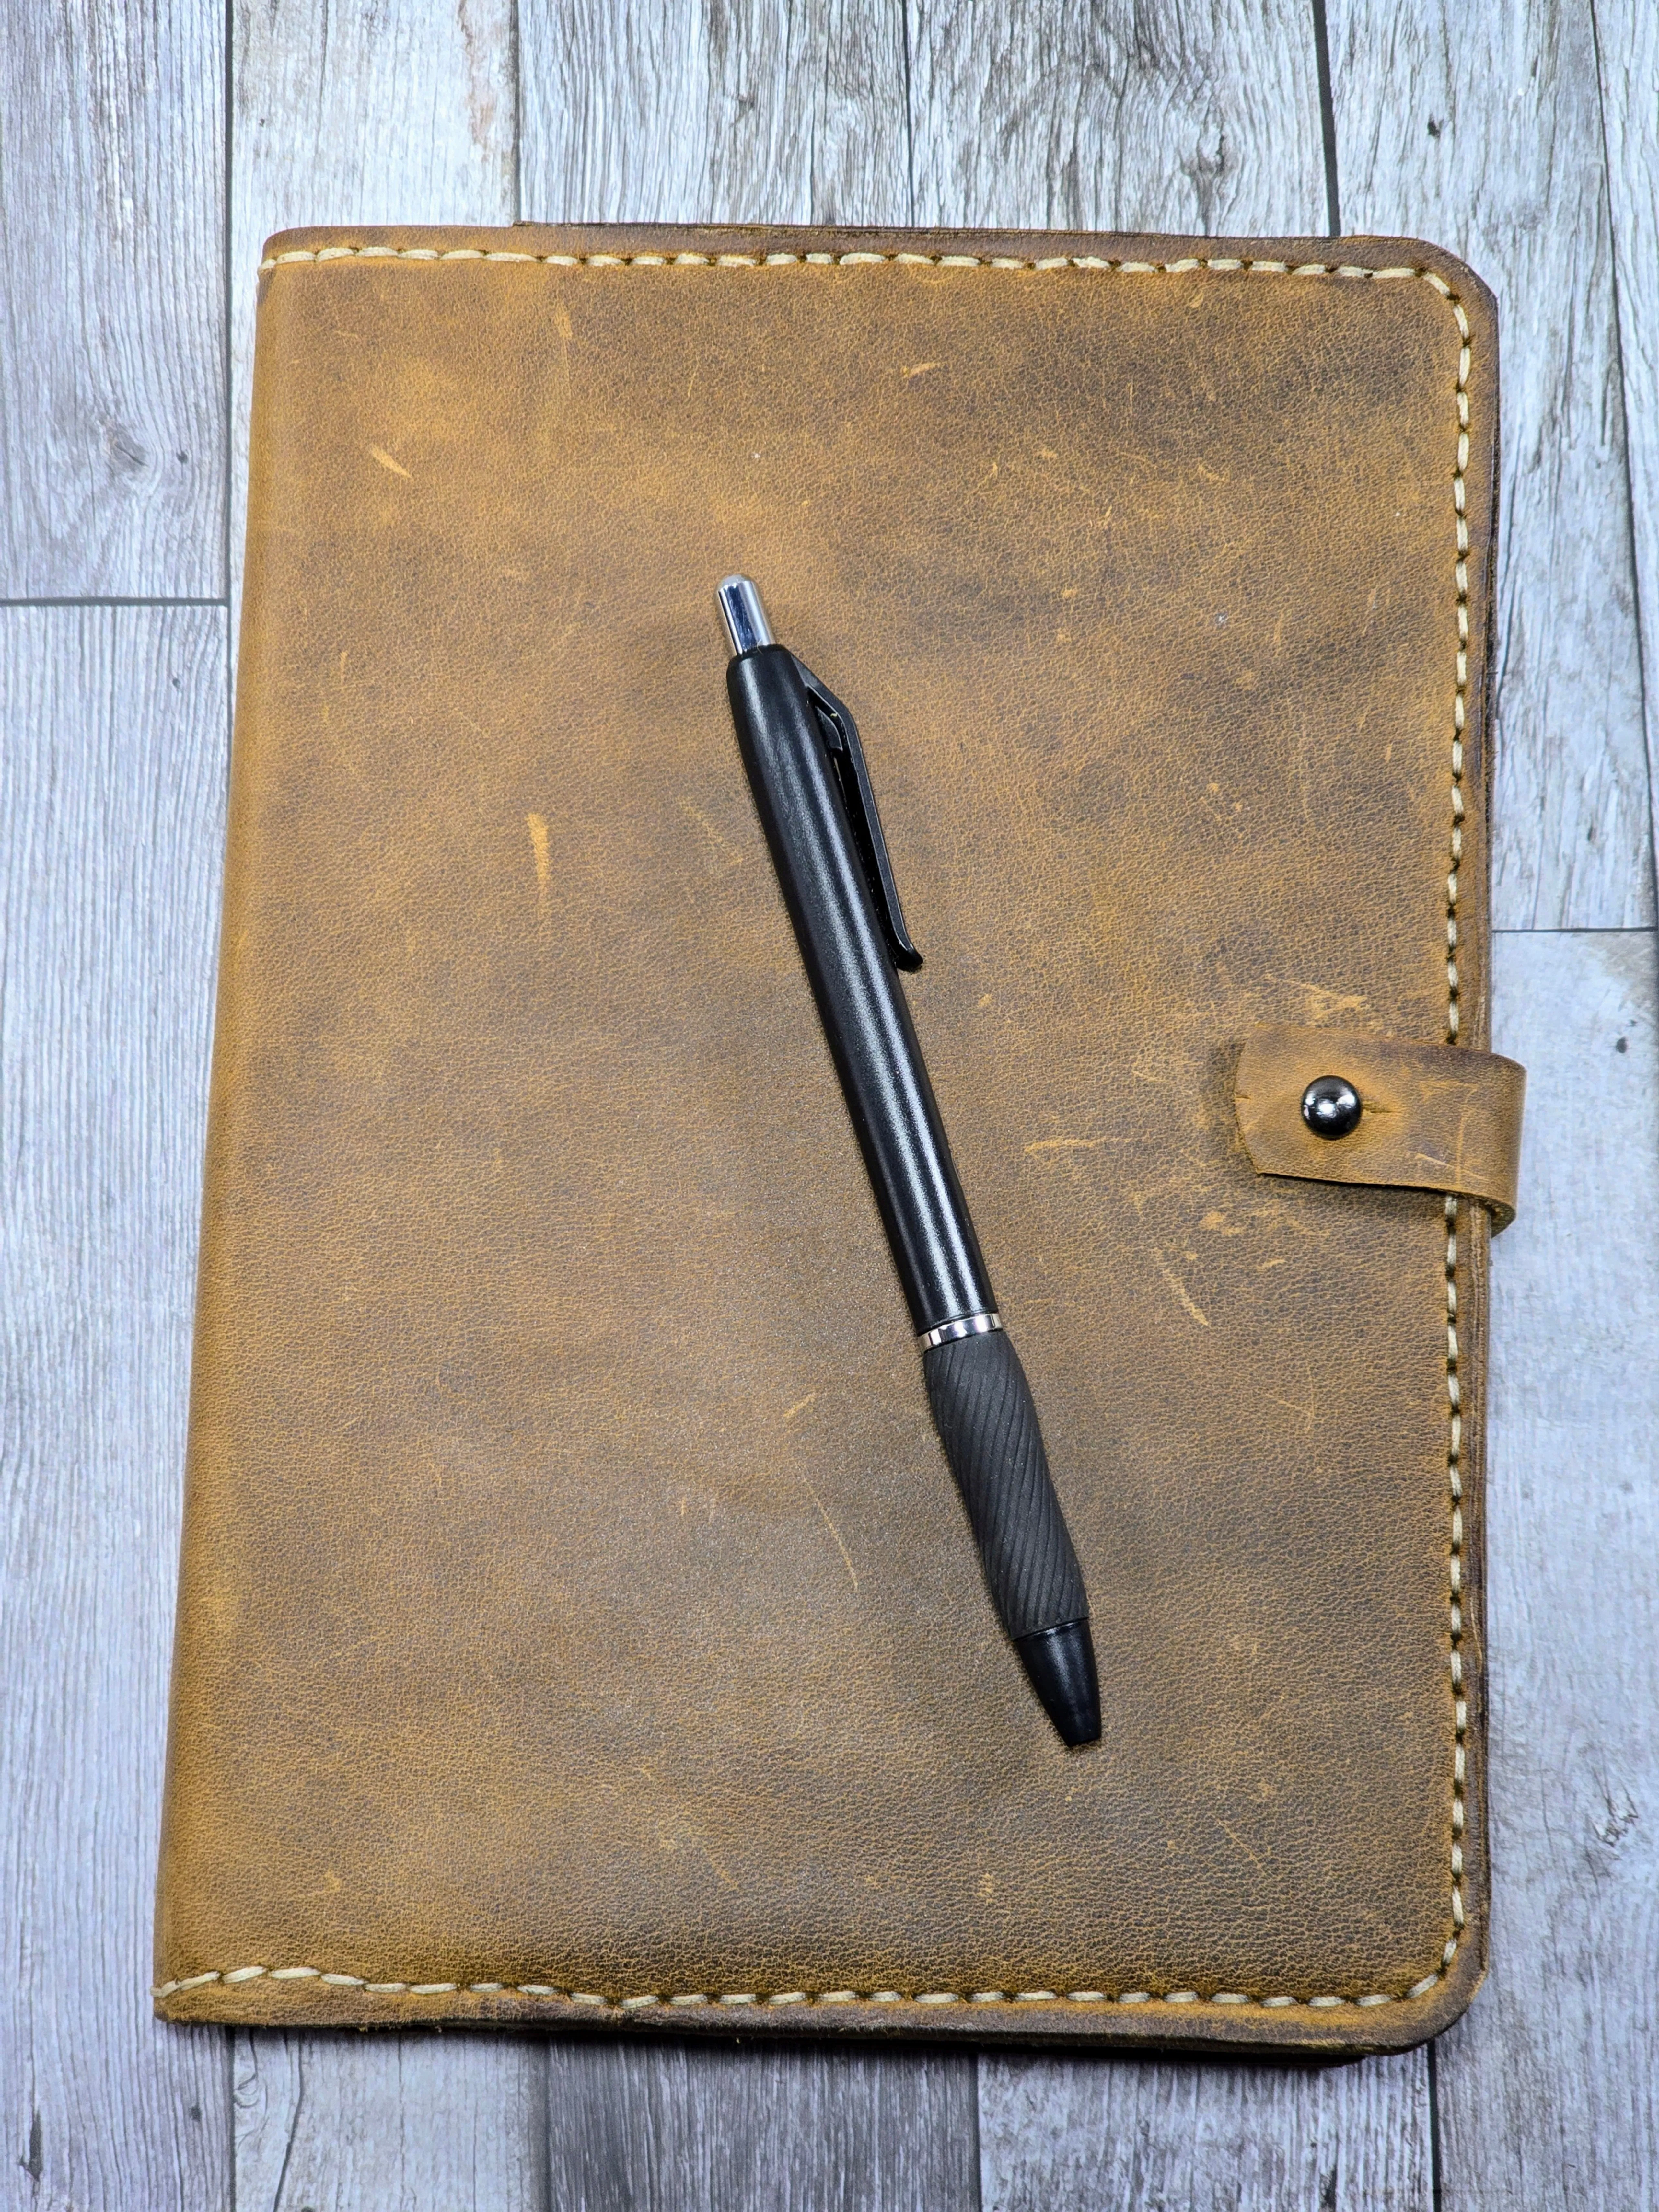
3. The Pen Loop Trap
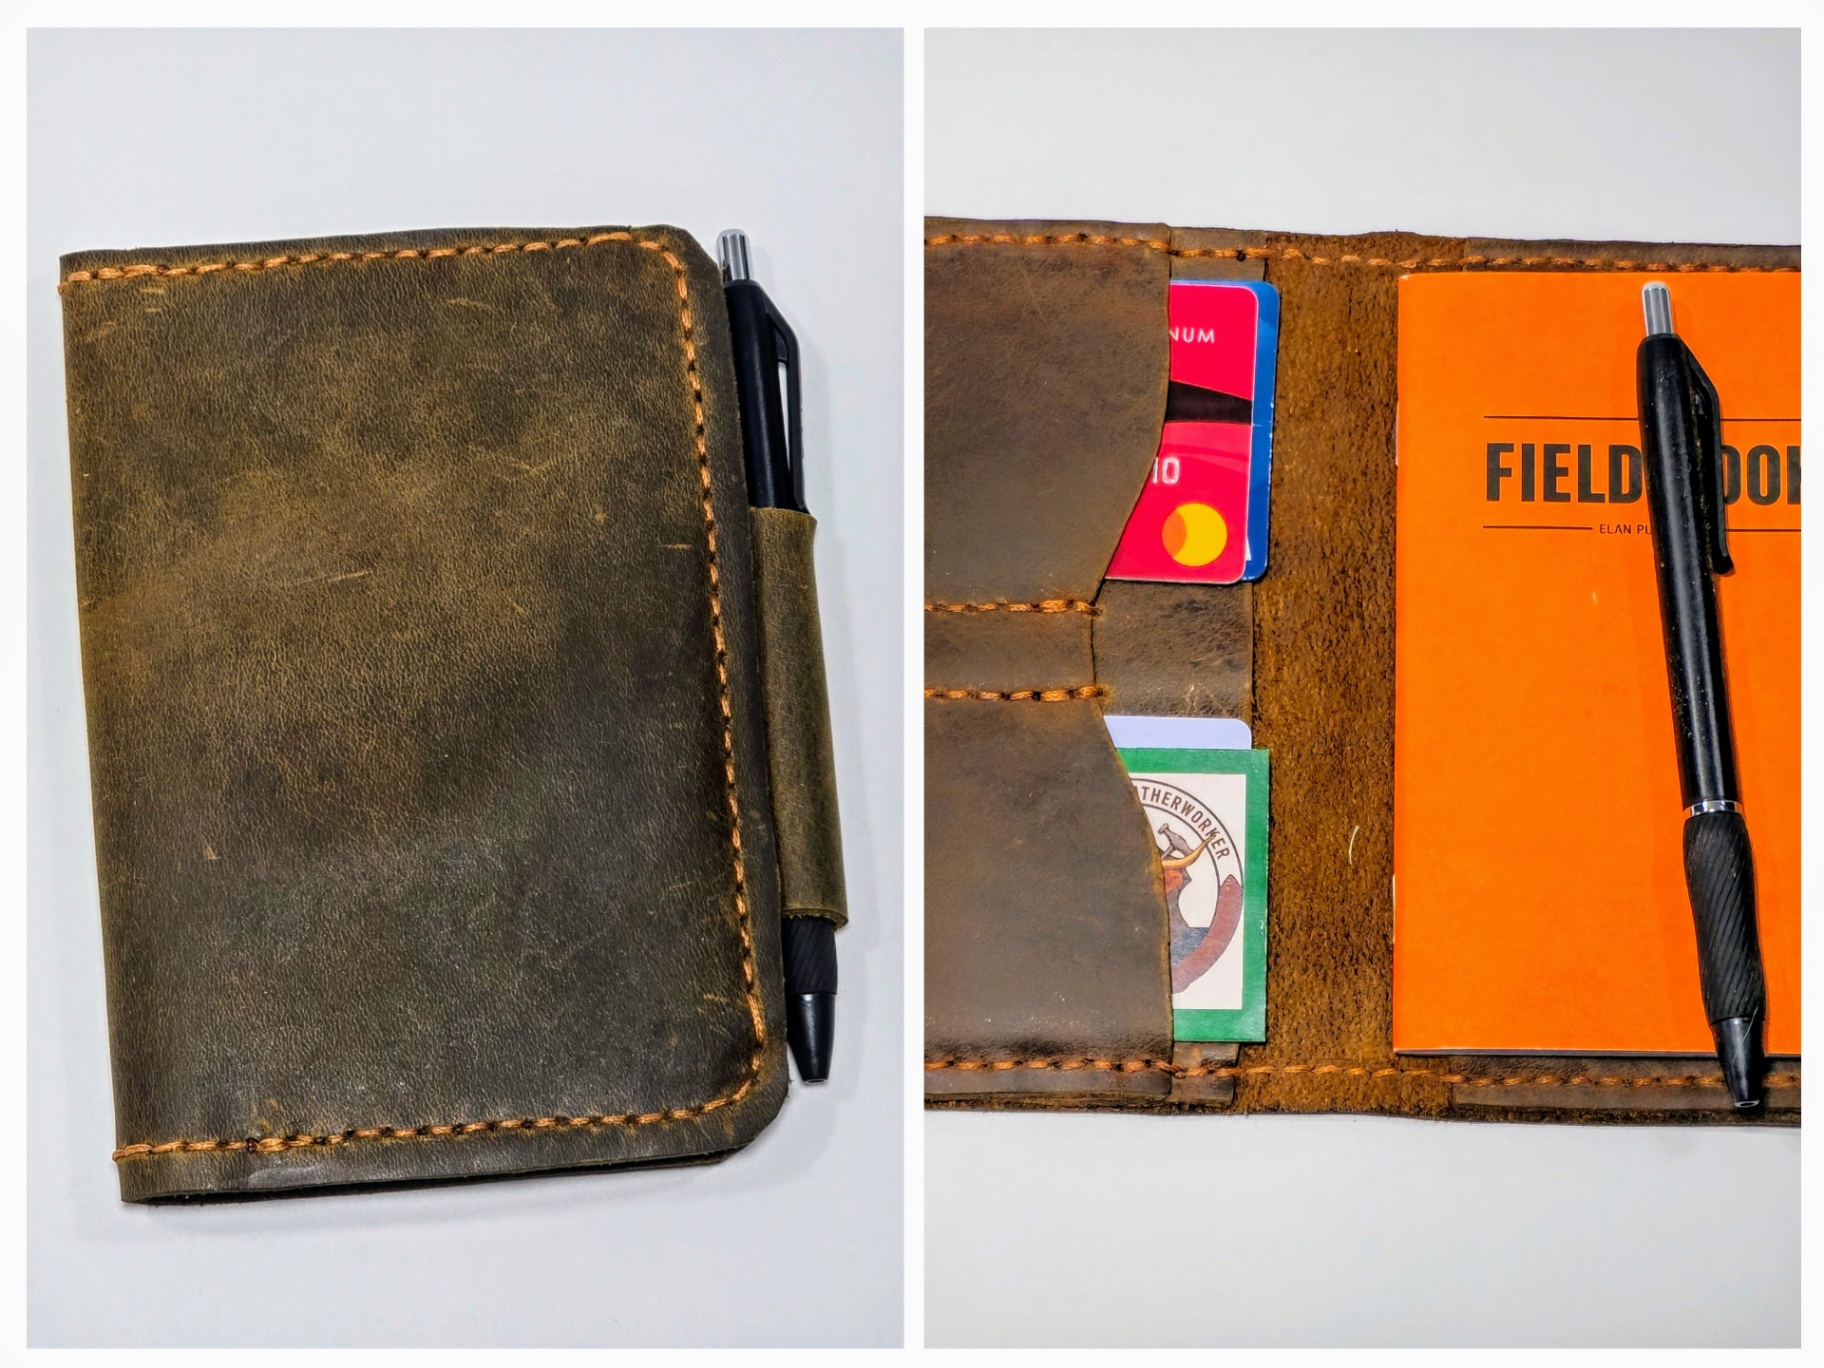
I know, I know: everyone wants a pen loop. It’s convenient. But here’s the secret: leather pen loops can be a real headache.
Leather naturally stretches. If you use a thin pen one day and a thick fountain pen the next, that leather loop is going to stretch out and never quite go back to its original shape. Eventually, your favorite pen will just slide right out and get lost.
If you absolutely need a pen loop, look for one that incorporates elastic or is designed with a very heavy-duty leather that can handle the tension. Personally, I often prefer carrying my pen separately or choosing a cover design where the pen is tucked safely inside the fold. It keeps the profile slim and ensures you aren't constantly fishing for a lost pen at the bottom of your bag.
4. Trusting Weak Stitching
A leather cover is only as strong as the thread holding it together. A common mistake is choosing covers that use thin, machine-made "lockstitching." The problem with a machine lockstitch is that if one single thread breaks, the whole seam can start to unravel like a zipper.
At The Kilted Leatherworker, I'm a big believer in the hand-stitch. When I sit down to sew, I use a saddle stitch. This involves two needles passing through every single hole. If one thread happens to break (which is rare with the heavy-duty thread I use), the other thread stays locked in place, holding the whole thing together.
Before you buy, take a close look at the stitching. Is it thin and flimsy, or does it look substantial? Good stitching should look deliberate and feel like it’s part of the leather’s DNA. You can read more about what to look for in my post on 7 mistakes you’re making with handmade leather goods.

5. The "Close Enough" Fit
Not all notebooks are created equal. I’ve seen so many people try to cram a thick Moleskine into a cover designed for a slim Field Notes, or vice versa.
If the fit is too tight, you’re putting immense stress on the stitching and the leather itself. Over time, this will warp the cover and can even snap the spine of your notebook. If the fit is too loose, your notebook will slide around, which can lead to bent pages and a frustrated writer.
Always measure your notebook's height, width, and thickness before buying a cover. Many of my favorite pieces, like our mini leather journal covers, are designed for specific sizes to ensure they stay snug and secure.
6. Treating It Like a Smartphone
We live in a world of disposable tech, but leather is an organic material. A common mistake is treating a leather cover like it's a piece of plastic. People leave them on the dashboard of a hot car in the Texas sun or let them sit in a puddle on a coffee table.
While my goods are "adventure-ready," that doesn't mean they are indestructible. Extreme heat will suck the natural oils out of the hide, making it brittle. Constant moisture will cause it to lose its shape.
The fix is simple: treat your leather with a little respect. If it gets wet, wipe it down and let it air dry naturally (not with a hairdryer!). If you're going to be out in the elements for a long time, consider a pouch for extra protection. I often talk about the difference between a journal cover and a notebook cover when it comes to actual protection in the field.
7. The "Set It and Forget It" Mentality
Leather is a lot like skin: it needs a little hydration every now and then. One of the biggest mistakes is never conditioning the leather. Over years of use, the oils that keep the fibers supple will evaporate.
I recommend using a high-quality leather balm or beeswax-based conditioner once or twice a year, or whenever the leather starts to feel dry or "thirsty." Just a small amount rubbed in with a soft cloth will bring back the luster, deepen the color, and keep the leather from cracking.
There is something truly satisfying about taking an evening to clean and condition your gear. It’s a moment of reflection, a chance to look at the scuffs and marks and remember the adventures they represent.

Final Thoughts
Making these small adjustments can take your leather notebook cover from a temporary accessory to a lifelong companion. It’s all about starting with honest materials, paying attention to the craftsmanship, and giving the piece a little bit of love along the way.
I love the process of creating these items, ensuring that every stitch is perfect and every edge is smooth. It’s a slow way of working, but I believe it’s the only way to make something truly worth carrying. Whether you’re using one of my covers or another maker’s work, I hope these tips help you get the most out of your gear.
Thank you so much for taking the time to read this. If you’re ever curious about the process or want to see what’s currently on my workbench, feel free to head over to the Kilted Leatherworker homepage and take a look around.
Stay safe out there, and keep writing.
Warmly,
Eric
Founder and Owner, The Kilted Leatherworker LLC