

Hi, I’m Eric. If you’ve spent any time looking through my shop, you know that I have a real passion for "honest materials." There is just something about the smell of a fresh hide and the way a piece of leather feels in your hands that gets me excited to head into the workshop every single day.
When you pick up one of my handmade leather goods, you aren’t just buying a mass-produced accessory. You’re getting something that I’ve spent hours cutting, dyeing, and stitching, one step at a time. Because these pieces are made to last a lifetime, they require a little bit of love to ensure they age as gracefully as they should.
I often get asked, "Eric, how do I make sure my wallet or belt pouch stays in good shape for the next twenty years?" It’s a great question. Today, I want to walk you through my personal guide on leather maintenance. It’s simpler than you might think, but these small habits make all the difference.
The Foundation: Why Handmade Leather Needs Care
Before we dive into the "how," let’s talk about the "why." Most of the leather I use, whether it’s a rugged buffalo hide or a supple calfskin, is a natural, porous material. Think of it like your own skin. It needs to breathe, it needs moisture to stay flexible, and it can get "sunburned" or dried out if it’s neglected.
In my journey as the founder of The Kilted Leatherworker LLC, I’ve learned that the biggest enemy of leather isn't actually use, it's neglect. A well-loved, well-used bag will often look better than one left sitting in a dusty closet for five years. That’s because the natural oils from your hands actually help keep the leather supple. But eventually, those oils need a boost.
Your Daily and Weekly Routine
You don’t need a chemistry set to take care of your gear. In fact, the most important part of caring for handmade leather goods is just paying attention to them.
The Simple Wipe-Down
Every few days, or after a long weekend out on the trail, I recommend giving your leather a quick wipe. Use a soft, dry cloth to remove surface dust and debris. If you’ve been carrying one of my minimalist wallets, you might not notice the tiny bits of grit that accumulate in your pocket, but over time, they can act like sandpaper on the finish.
The Soft Brush Technique
Once a week, or whenever you notice dirt settling into the grain, use a soft-bristled brush (a horsehair shoe brush is perfect for this). Gently brush the seams and any hand-tooled areas. This is especially important for pieces like my buffalo belt pouches, where the texture of the hide can trap dust.
The Deep Clean: Doing It the Right Way
About once a month, or if you’ve had a particularly "adventurous" day in the mud, it’s time for a deeper clean.
Step 1: Choose the Right Cleaner
Please, whatever you do, stay away from harsh household chemicals or "all-purpose" cleaners. These will strip the natural oils faster than you can say "kilt." Use a specialized leather cleaner.
Step 2: The Spot Test
I always tell my customers to test any new product on an inconspicuous area first. Maybe the inside of a strap or the bottom of a pouch. Every hide reacts a little differently to different chemicals.
Step 3: Circular Motions
Apply a small amount of cleaner to a clean, lint-free cloth. Work in small sections using gentle, circular motions. You aren't trying to scrub the life out of it; you’re just lifting the dirt.
Step 4: Air Dry
This is the part where people usually mess up. After cleaning, wipe away any residue with a slightly damp cloth and let the piece air dry naturally. Never use a hairdryer or put it near a radiator. High heat is the fastest way to make leather brittle and prone to cracking.

Conditioning: Feeding the Leather
This is my favorite part of the process. Conditioning is where you really see the character of the leather come back to life. I usually recommend conditioning your handmade leather goods at least twice a year. If you live in a very dry climate (or a very cold one where the heater is always running), you might want to do it every three or four months.
When you apply a high-quality leather conditioner, you are replacing the natural oils that have evaporated. This keeps the fibers flexible so they don't snap under tension.
- Apply Sparingly: A little goes a long way. Put a small dab on a cloth, not directly on the leather.
- Focus on Stress Points: Pay extra attention to areas that flex a lot: like the fold of a wallet, the hinge of a journal cover, or the straps of a bag.
- The Wait: Let it sit for about 15 to 20 minutes. This gives the leather time to "drink" the conditioner.
- The Buff: Take a clean, dry cloth and buff away any excess. You want a soft sheen, not a greasy film.
Avoiding Common Pitfalls
I’ve seen a lot of great pieces ruined by simple mistakes. I actually wrote a whole post about 7 mistakes you’re making with handmade leather goods, but here are the big ones to keep in mind:
The "Overstuffing" Trap
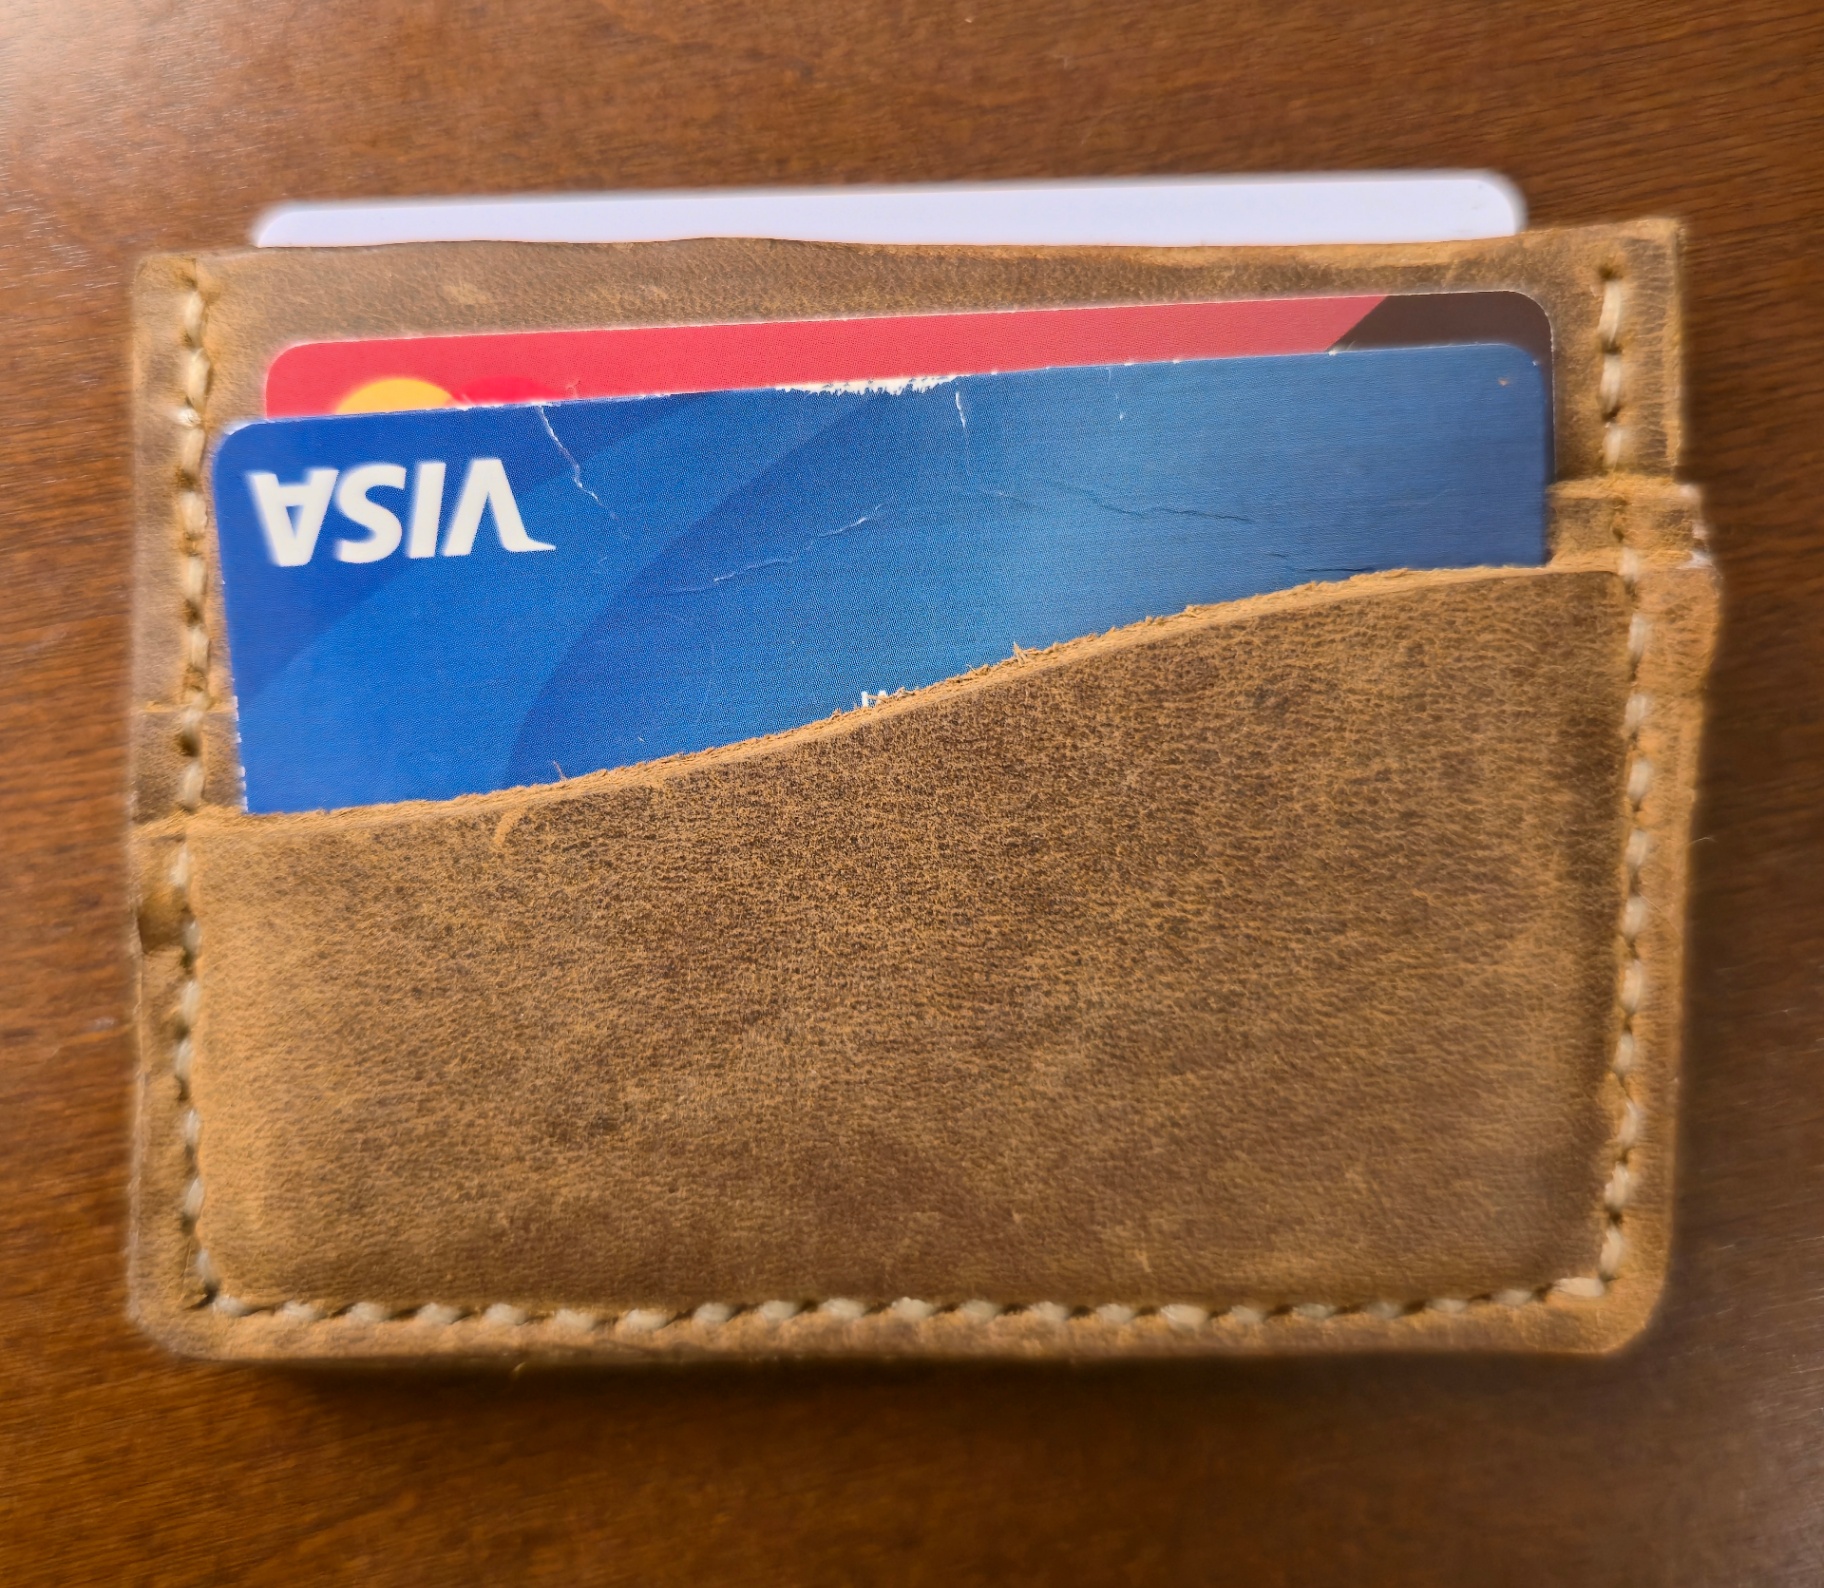
I know it’s tempting to see just how much you can fit into your minimalist leather wallet. But remember, leather has a memory. If you stretch it out by cramming twenty cards into a three-card slot, it won't shrink back. It loses its structural integrity and its "snap." If you find yourself needing more room, it might be time to upgrade to a larger pouch rather than forcing the small one to do more than it was designed for.
Sunlight and Heat
Leaving your leather bag on the dashboard of a hot car is a recipe for disaster. The UV rays will fade the beautiful hand-dyed colors, and the heat will bake the moisture right out of the hide. Keep your goods in a cool, dry place when you aren't using them.

Handling the Elements: What to Do if It Gets Wet
We’re all about adventure here at The Kilted Leatherworker LLC. Whether you’re at a Highland Games or hiking a trail, sometimes it’s going to rain.
If your leather gets soaked, don't panic.
- Blot, Don't Rub: Use a dry towel to blot away as much water as possible.
- Stuff It: If it’s a bag or a pouch, stuff it with dry paper towels (not newspaper, as the ink can transfer) to help it hold its shape while it dries.
- Slow and Steady: Let it dry at room temperature.
Once it’s completely dry, you’ll definitely want to follow up with a light coat of conditioner, as the water can pull some of those essential oils out as it evaporates.
The Beauty of the Patina
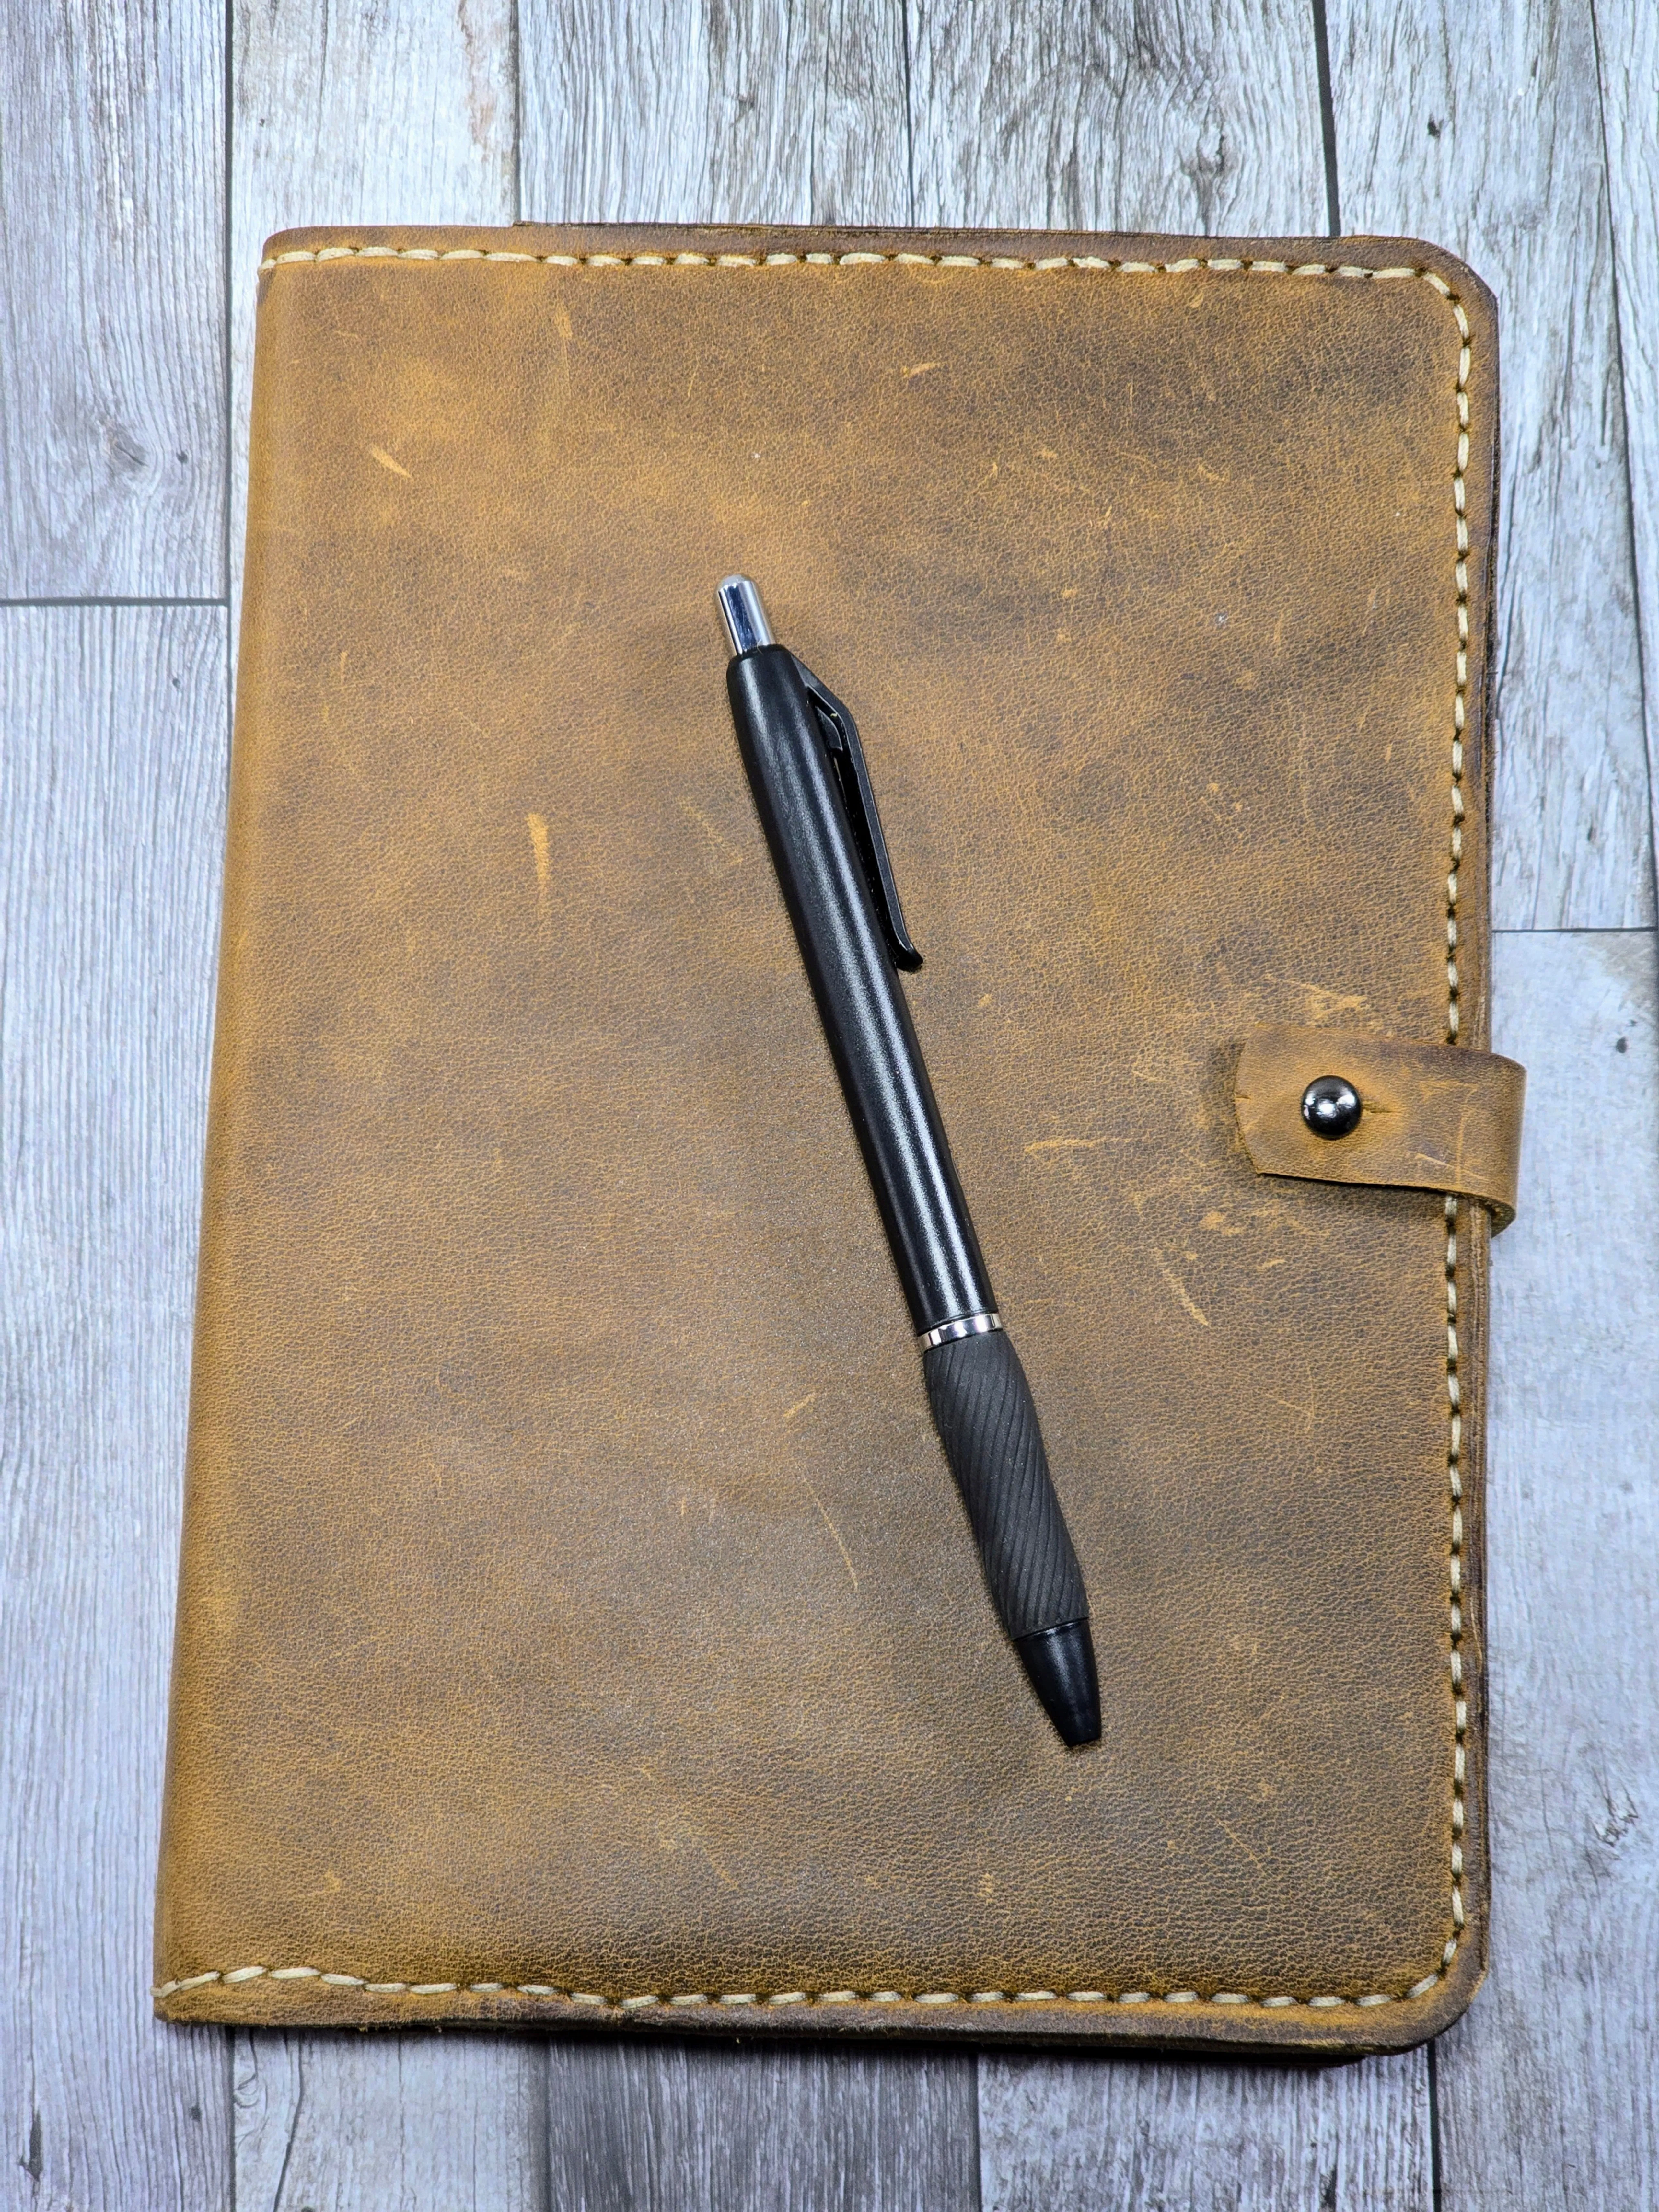
Finally, I want to mention the "patina." This is the natural darkening and smoothing that happens to high-quality leather over time. Some people get worried when they see a small scratch or a dark spot from where their thumb always rests.
Don't be! Those marks are the story of your adventures. One of the reasons I love working with "honest materials" is that they change with you. A handmade leather piece should look better five years from now than it did the day you bought it.

A Note from the Workshop
Taking care of your leather is a bit like a meditation for me. There is something very relaxing about sitting down with a favorite piece, a soft cloth, and some conditioner, ensuring that every stitch is protected for the years ahead. It’s a way of respecting the craft and the animal the hide came from.
I truly appreciate you choosing my work to be a part of your daily carry. Whether it’s a belt that holds up your favorite kilt or a wallet that goes everywhere with you, I want it to serve you well for a long, long time.
Thank you so much for your time and for supporting a small business like mine. If you ever have a specific question about a piece you've bought, don't hesitate to reach out. I'm always happy to chat shop!
Warmly,
Eric
Founder, The Kilted Leatherworker LLC