

Hi, I’m Eric. If you’re anything like me, there is something incredibly satisfying about the smell of fresh, high-quality leather. When you first unbox a piece like The Chronicler’s Cover | Burgundy Leather Journal Sleeve, it has that pristine, "new" stiffness that commands respect. But as much as I love that fresh-from-the-bench feel, the real magic happens when you start to break it in.
I’ve been working with hides for years, and one of the most common questions I get from fellow adventurers is, "How do I make this leather feel like mine?" You want it soft. You want it supple. You want it to have that deep, rich glow, the patina, that tells the story of every mountain you’ve climbed or every late-night thought you’ve scribbled down.
Breaking in a leather notebook cover isn't just about making it flexible; it’s about a relationship between you and the material. It’s a process of turning a beautiful object into a lifelong companion. Today, I want to walk you through exactly how to do that, ensuring that every stitch remains perfect while the leather transforms into something truly unique and made with love.
Why Do We "Break In" Leather?
Think of a new leather cover like a brand-new pair of heavy-duty boots or even the first time you pop the top on a cold, crisp soda on a hot day, it’s a bit tight at first, but once it opens up, it’s perfection.
High-quality, full-grain leather is a natural, fibrous material. When it’s new, those fibers are tightly packed and a bit "sleepy." Breaking it in is essentially the process of waking those fibers up, stretching them slightly, and allowing them to settle into the shapes and movements of your daily life.
Little did I know when I started The Kilted Leatherworker, that people would become as addicted to the break-in process as I am to the crafting process! There is a genuine wonder in watching a stiff piece of hide become as soft as a favorite pair of gloves.

Step 1: The Power of the "Daily Carry"
The single best way to break in your Chronicler’s Cover is also the simplest: use it.
I enjoy seeing customers who take their journals everywhere. Friction is your best friend here. Every time you slide your journal into The Wayfarer’s Tote | Hand-Stitched Leather Carry-all or pull it out of a backpack, the leather is being buffed and massaged.
Why usage matters:
- Heat and Pressure: The warmth from your hands and the pressure of being carried helps the leather fibers relax.
- Natural Oils: Your skin carries natural oils. As you handle your cover, those oils slowly migrate into the leather, acting as a natural, constant conditioner.
- Environmental Exposure: Moving between a cool room and the warm outdoors helps the leather "breathe" and adapt.
If you baby your leather too much, it stays stiff. Don't be afraid to let it live your life with you.
Step 2: The "Cigar Roll" Technique (The Pro Shortcut)
If you’re a bit impatient and want to jumpstart the softening process, I’ve got a little trick for you. I call it the "Cigar Roll." As you may have guessed, this isn't about smoking; it’s about gentle manipulation.
- Empty the Cover: Remove your notebook and any pens.
- The Gentle Roll: Lay the cover flat. Starting from one edge, gently roll the leather into a loose "cigar" shape.
- No Sharp Creases: This is vital! Do not fold it or press down to create a sharp crease. You want a smooth, rounded roll.
- Repeat: Unroll it and then roll it from the opposite side. Flip it over and do it again with the inside (the flesh side) facing out.
This simple movement helps break up the initial stiffness of the fibers without damaging the structure of the piece. It’s like stretching before a long hike, it gets the leather ready for the journey.

Step 3: Understanding and Encouraging Patina
You’ve probably heard leather enthusiasts talk about "patina" with a sense of awe. But what is it, exactly?
Patina is the soul of the leather. It’s that slight darkening, the subtle sheen, and the unique character marks that appear over time. On our burgundy leather, the patina manifests as a deepening of the hue, moving from a bright, punchy red-wine color to a rich, sophisticated mahogany.
How to get the best patina:
- Sunlight (in moderation): Indirect sunlight is like a slow-cooker for leather. It helps develop the color. Just don't leave it on a dashboard in the Texas sun all day, or you’ll dry it out!
- Handling: The more you touch it, the better the sheen.
- Life Happens: A small scratch from your keys or a tiny watermark from a raindrop isn't a flaw; it’s a memory. Over time, these marks blend into a beautiful, textured landscape that is entirely yours.
Step 4: Conditioning for Longevity
Ensuring that every stitch is perfect is my job, but keeping the leather healthy for the next thirty years is yours. While the oils from your hands do a lot of the work, a little extra help once or twice a year goes a long way.
I recommend using a natural leather balm. Avoid anything with harsh chemicals or heavy silicones.
The Eric-Approved Conditioning Routine:
- Clean: Wipe the cover with a soft, dry cloth to remove dust.
- Test: Always apply a tiny amount to a hidden spot (like the inside flap) to make sure you like how it affects the color.
- Apply: Use a clean cloth or even your fingers (I prefer fingers because the warmth helps the balm sink in) to rub a thin layer of balm in circular motions.
- Buff: Let it sit for a few hours, then buff it with a clean cloth to remove any excess and bring up the shine.
(Pro tip: If you live in a very dry climate, you might want to do this three times a year. If you’re in a humid area, once is usually plenty!)

Common Questions about Leather Break-In
How long does it take?
Typically, you’ll feel a noticeable difference in about two to four weeks of daily use. The full "broken-in" feel usually hits its peak around the six-month mark.
Can I use water to soften it?
Please don't! While some people suggest "wet-molding," it can lead to water stains or, if not dried properly, mold. Stick to dry handling and quality balms.
What if it gets a scratch?
For light scratches, you can often "rub them out" with just your thumb. The heat and friction will move the oils in the leather to cover the mark. If it’s deeper, a tiny bit of balm will help it blend in.
A Legacy in Your Hands
Every time I sit down at my bench to create something like The Chronicler’s Cover or one of our Burgundy Wrinkle Minimalist Wallets, I think about where it’s going to go. I think about the notes that will be taken, the sketches that will be drawn, and the hands that will hold it.
We make durable, timeless leather goods that inspire adventure, but the adventure doesn't truly start until the piece reaches you. The break-in process is the final stage of manufacturing, and that's the part only you can do.
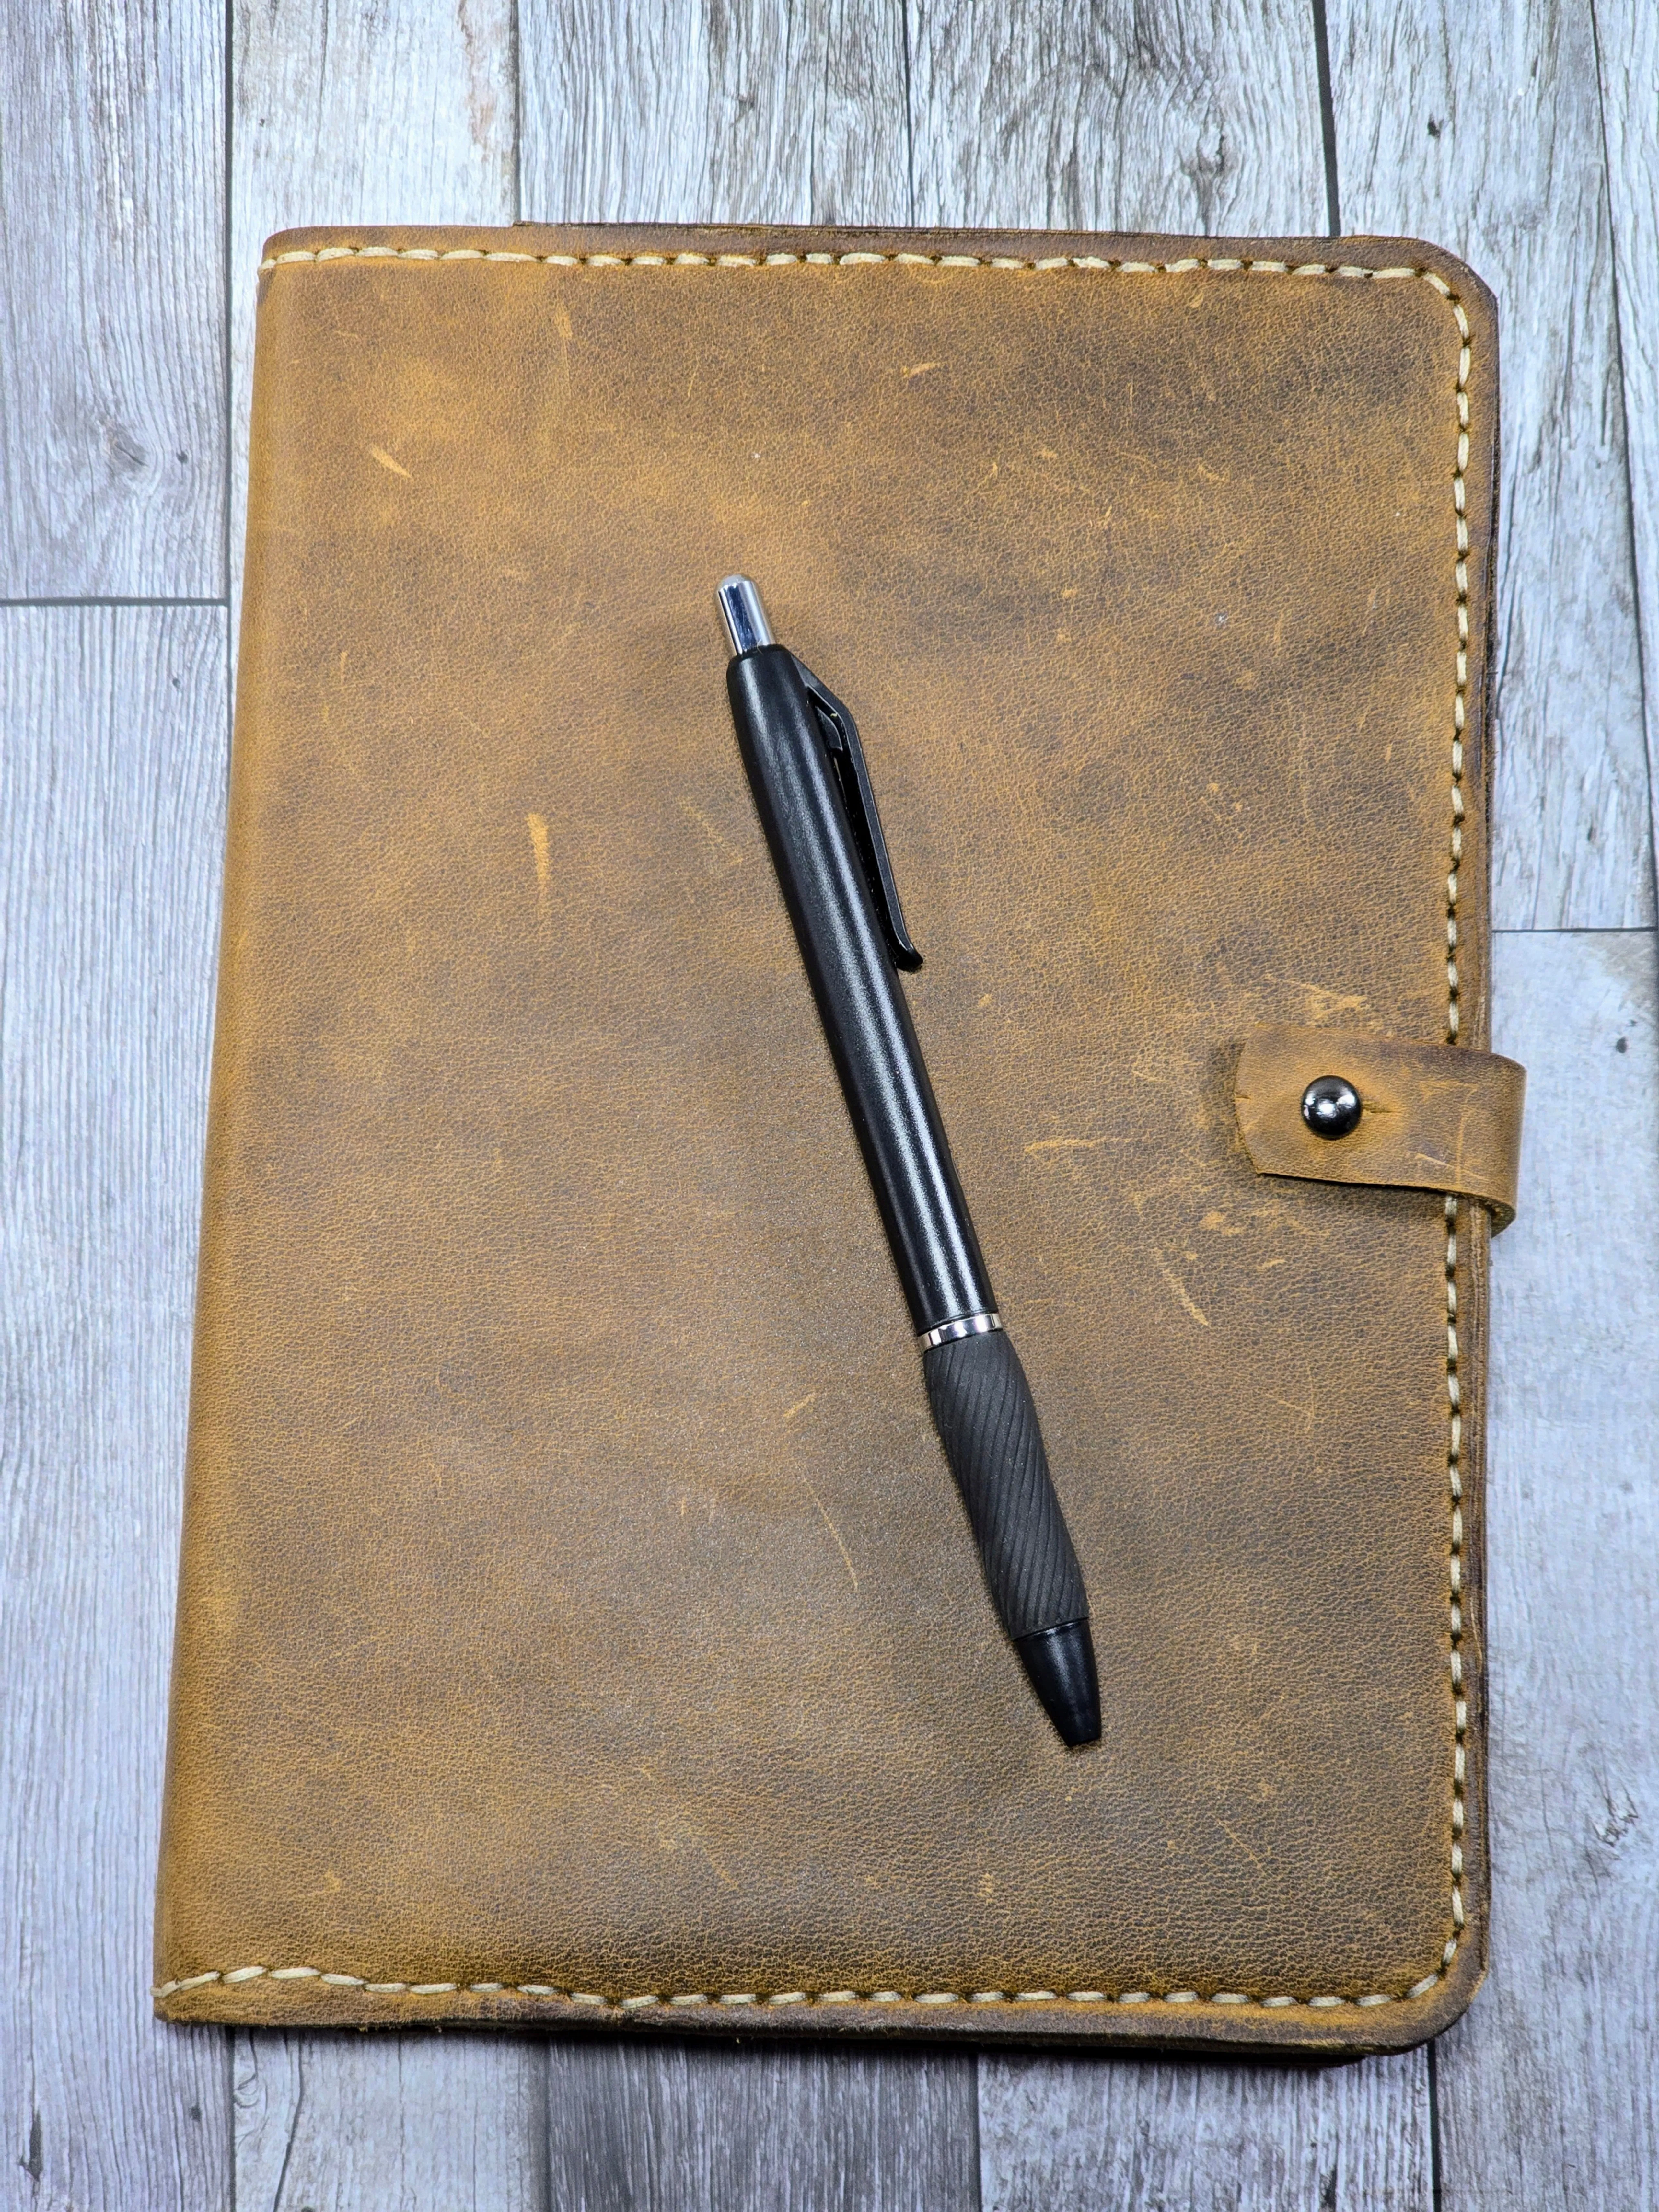
Thank you so much for taking the time to read this. I’m truly grateful for every one of you who chooses to carry a piece of my work. It’s a humble admission, but seeing these covers out in the wild, looking worn and loved, is the best part of my job.
If you ever have questions about your gear or want to share a photo of your growing patina, please reach out! I'm always here to help you get the most out of your leather.
Stay adventurous,
Eric
Founder, The Kilted Leatherworker LLC